How I make animated gifs
I sometimes stitch together a series of images to make an animated gif. I like working with images over video because I find it easier to choose what frames to include and to make modifications to each frame. Here I explain how I capture photos and animate them.
Capturing the photos
There are three types of gifs I make depending on what I’m capturing. I have a different way of capturing the photos for each of them:
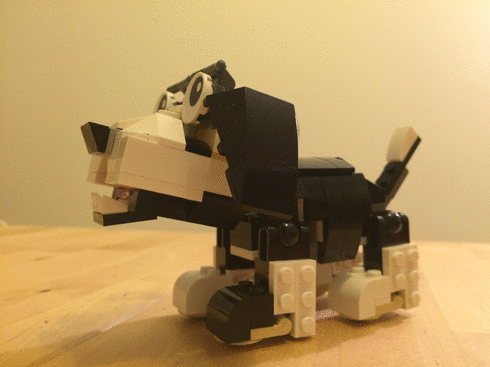
Stop motion
I take these with my compact camera or my phone when I’m in control of the subject and want to move it between shots.
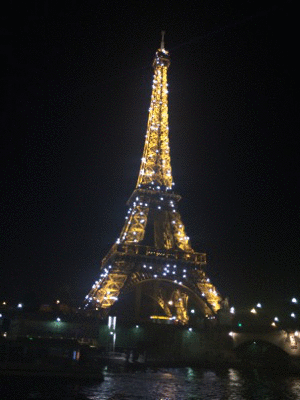
Burst
This is taking photos continuously, useful when the event you’re capturing is happening quickly. On an iPhone you can hold down the shutter button to start taking a burst of photos.
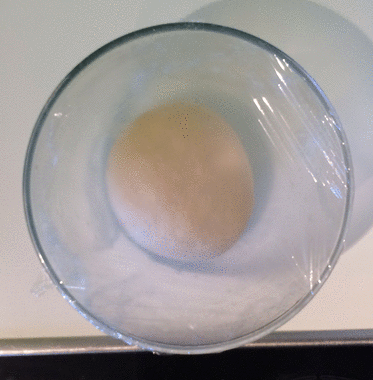
Timelapse
A timelapse can capture an event that happens over a longer period of time. I’ve found the GorillaCamPro app for iOS (currently £1.49 on the App Store) useful for doing this. By switching the app to use the ‘timelapse mode’ and turning on ‘take photos’ in the advanced settings, you can capture photos at regular intervals.
For all of these styles I try to keep the lighting and the position of the camera constant or change gradually between each shot.
Stitching them together
To convert a set of jpeg files into a gif I have a script that makes use of morgify1 (a command provided by ImageMagick) and gifsicle2. If you are using OSX with homebrew you can install both of these tools with brew install imagemagick gifsicle.
# remove any existing gifs in the directory
rm *.gif

# resize and jpgs to gifs
mogrify -resize 15% -auto-orient -format gif *.jpg *.JPG

# crop
#   argument in form [width]x[height]+[x offset]+[y offset]
mogrify -crop 350x540+0+0 *.gif

# combine to a gif
#   delay is in milliseconds
gifsicle -O2 --delay=10 --loop *.gif > output.gif
The script assumes that the filenames are sorted in the order you want their frames to appear in the gif. You can change the order by re-numbering the files.
Since every gif is slightly different and will need custom sizing and cropping, I will make a copy of the script into the directory with the images and alter it there. That way I also have a record of how the gif was build if I want to go back to it later.
After viewing the gif I can decided if I need to make any edits such as dropping frames or colour correcting images.
You can read more by me, follow me on Mastodon or subscribe.
I've just published my book - Build a Database Server. Learn how real databases like PostgreSQL and MySQL work by building your own database from scratch.
Find out more and see a preview.